 Fitness, Nutrition, Health and Sports Blog In the HSNstore Blog you will find tips about Fitness, sport in general, nutrition, and health – HSNstore.com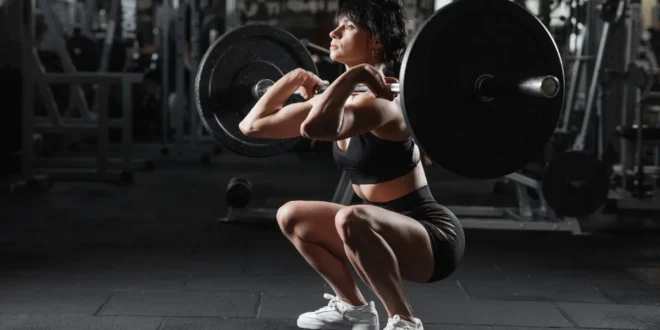

The front squat is one of those exercises you should never go without in your routine if you’re looking for serious development in your lower body.
What it is
The front squat is a variant of, not a substitute for, its sister exercise: the back squat.
Which muscles does it work?
When carrying out the front squat, the quadriceps (the muscles on the front of the upper thigh) are activated to extend your knees; while your gluteus maximus is activated to extend your hip.
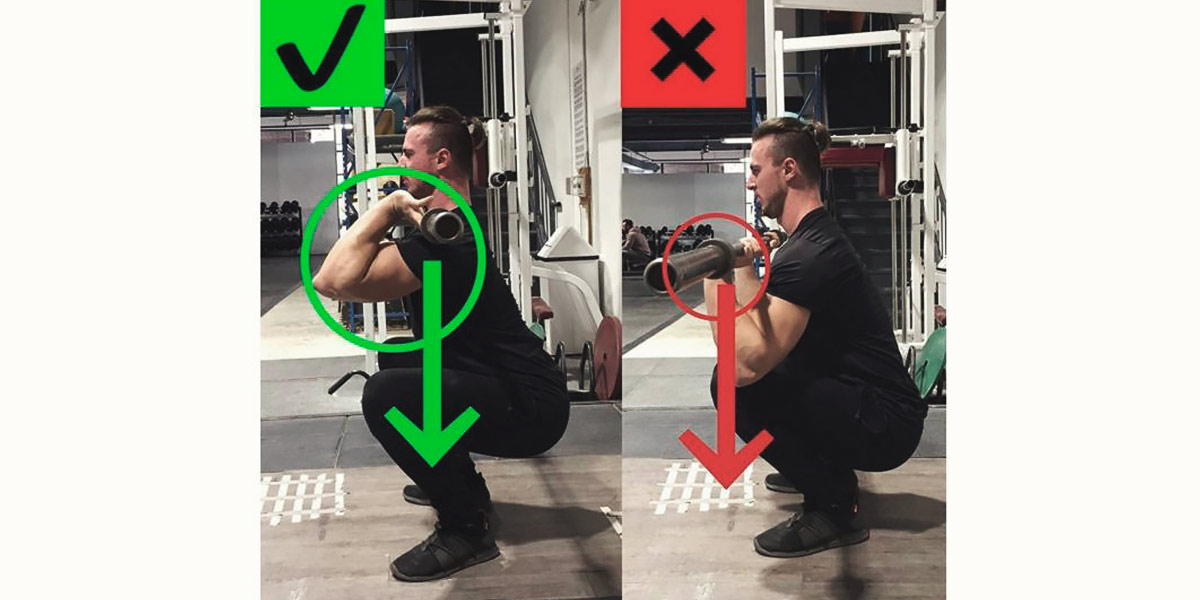
In turn, the spinal erectors (muscles that connect the vertebrae) are activated isometrically to keep your back straight.
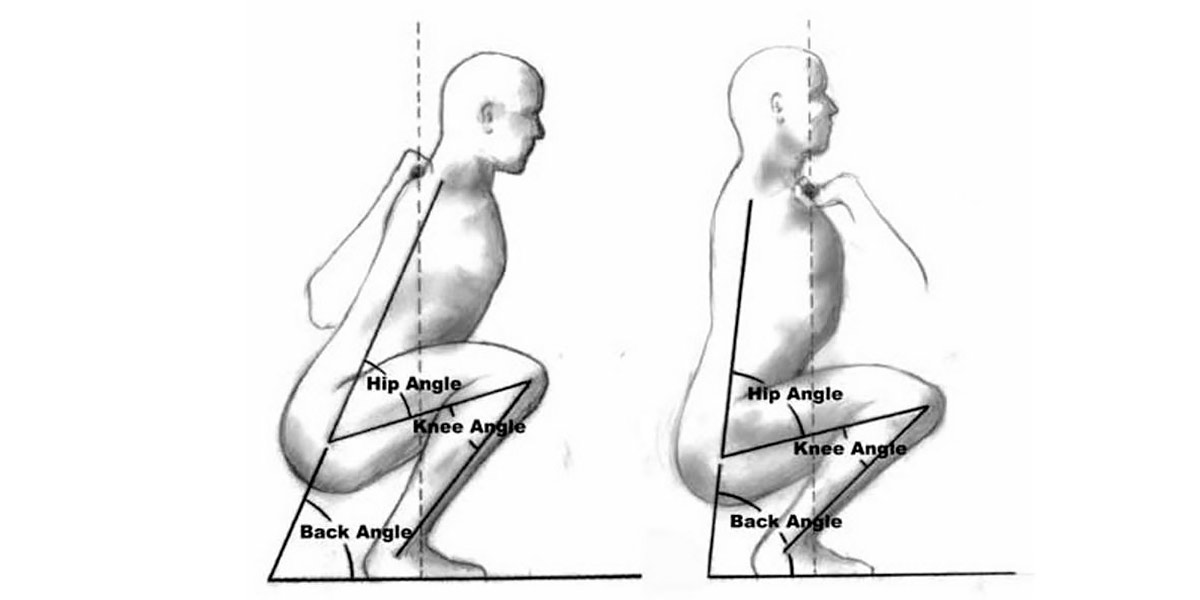
The front squat forces you to keep your core straight by opening the angle formed by your hip, so the bar doesn’t fall forward.
Quads on fire in the front squat!
ATG Squat
When I talk about front squat, we’re not referring to type done with the bar and ATG (“Ass To Grass”) style or Powerlifter style, i. e. lowering at least below perpendicular level, letting the hips drop lower than the knees, and bringing the knees and tips of the feet forward.
Grip
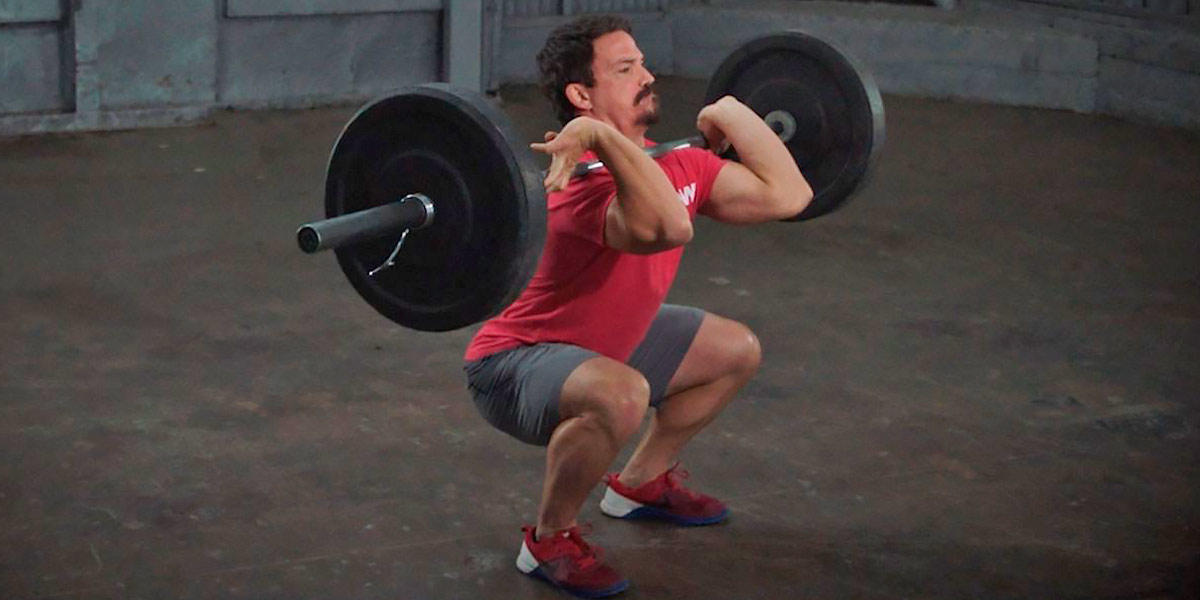
Just to be clear, I’m referring to the front squat version with rack or Olympic grips, that’s is, with the bar on the collar bone and the grip as in the photo below:
Relation to the Olympic movements
The front squat is directly related to the Olympic movements, as the position of the bar in a clean is basically the position of this squat at the lower end.
This point will be of special interest for those who do Crossfit. And look at the thighs of any Olympic athlete…
Benefits of the Front Squat
- Improves stabilising and mobility of the lower body
- Multi-joint work
- Increases strength
- Adds muscle mass, with an emphasis on the quadriceps, and not so much on the glutes, as is the case with the back squat
- Activates the metabolism
- Improves body composition
- Reduces the risk of injury in sports, and in power and explosion activities
Why do the front squat instead of the back squat?
We’ve already discussed the benefits of the front squat over the back squat in terms of its activation of lower body muscles, but what does that mean?.
Greater development of the quadricep muscles
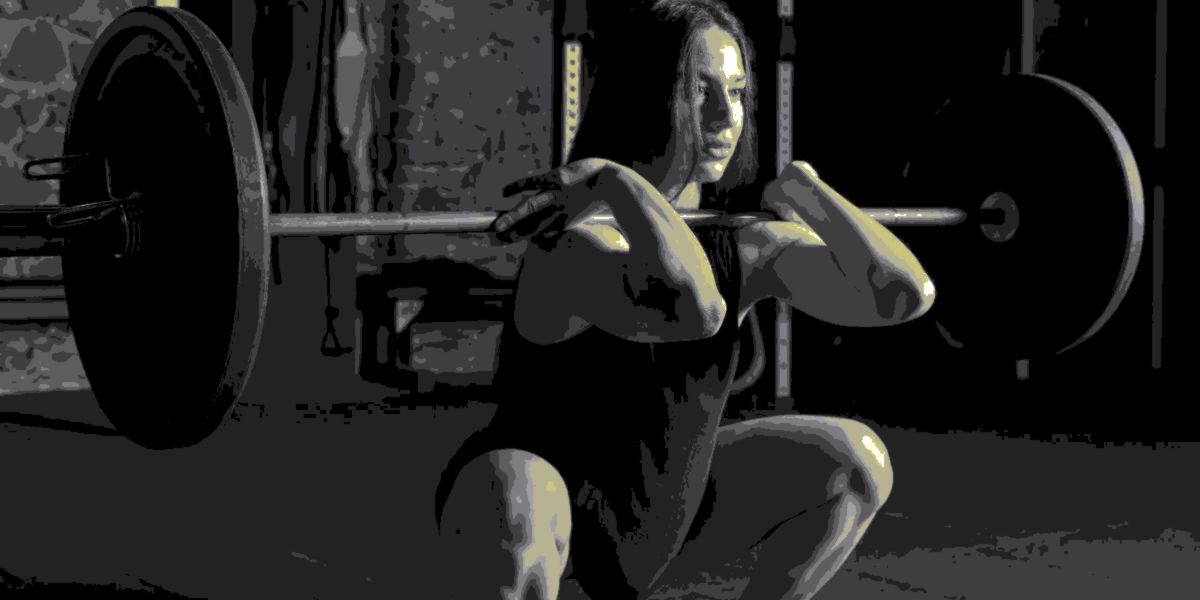
The demands of the front squat, in terms torso verticality, generate a greater ankle and knee flexion, increasing activation and therefore muscle development of the quadriceps.
More verticality in back squats
Front squats are a great exercise for improving your back squat technique.
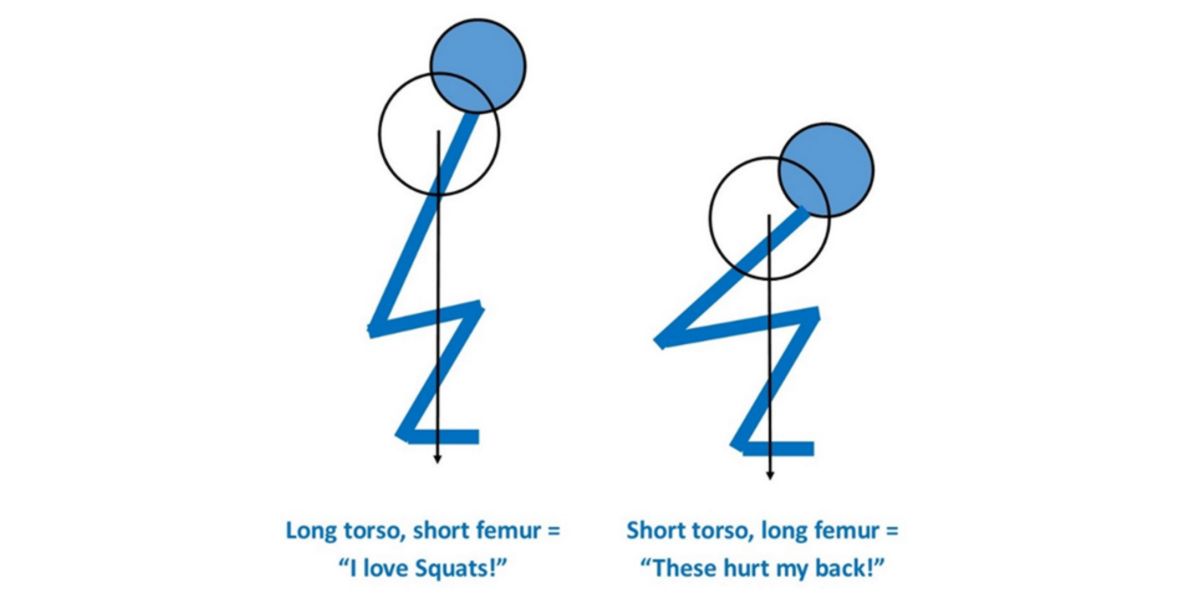
When lifters bend their hips by leaning the torso forward due to lack of mobility, it places them in a position where the shear forces on the spine are increased.
This is a highly common problems amongst lifters with long thighs, as the increase in the length of the femur bone forces the lifter to lean forward to shift their centre of gravity and not lose their balance.
Less tension on the lower back
The increased stabilising demands of the exercise, as well as the vertical position of the torso isometrically activating the erector muscles of the torso, not only make the front squat a less painful exercise for back lifters, but also make it a fantastic exercise for people suffering from chronic back pain.
Problems when performing the front squat
To execute the front squat you need to have good hip and ankle mobility (ankle dorsiflexion).
It’s also necessary to have good shoulder rotation mobility and wrist joint flexibility.
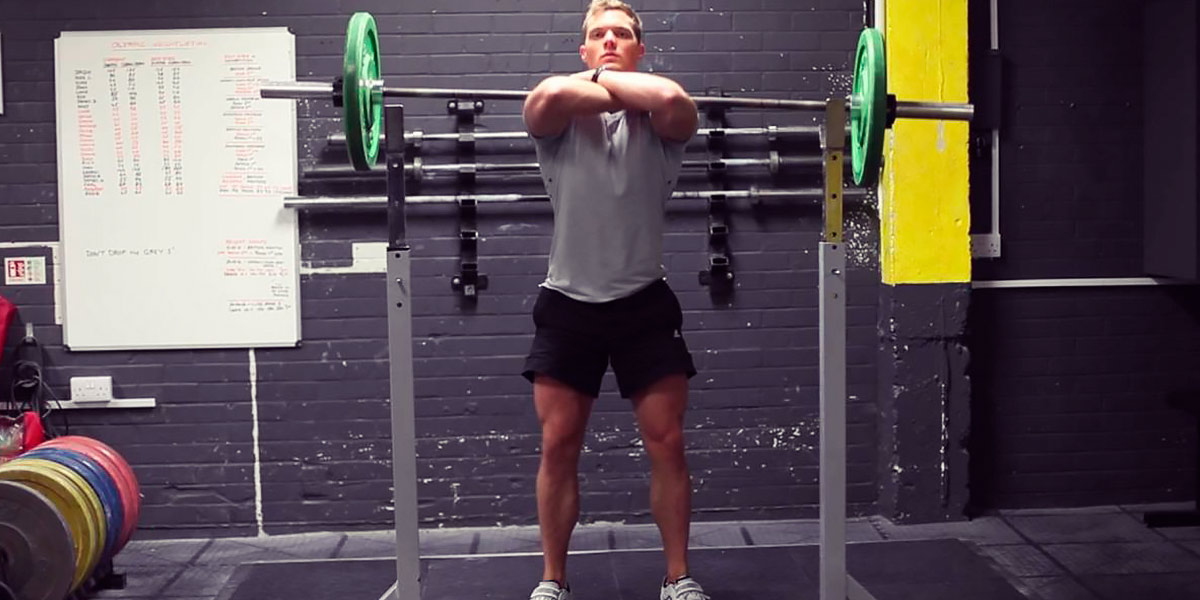
Cross grip
If, no matter how hard you try, the clean grip I’ve mention in each outline is not possible, there’s always the option of trying the cross grip, although you do run the risk of it rolling down if you handle high loads and the bar is not high enough.
Joint mobility
We should be doing joint mobility exercises, both of the lower and upper limbs (focusing on the shoulders) before the exercise.
Have a look at these videos from the one and only Kelly Starrett:
How to do the front squat
Like any complex lift movement, in the front squat you need to maintain the right technique and posture at all times in order to avoid failing the lift and, above all, causing an injury.
Initial position
We’re going to place ourselves in front of the bar, which is placed in the rack, and then “get in” under it, adjusting the position of the grip and the support points above our body.
Taking the bar from the rack
Now it’s time for action.
Before taking off the bar, make sure to have the correct grip, and with a breath of air, fill your lungs and hold your breath, and with a push, drop the bar, back up 1-2 steps, and we’re ready
Now, if you started incorrectly, the movement won’t succeed. So, apply the same concentration and intensity in this first phase as you do during the complete execution of the movement.
Lowering stage
A breath of deep air will fill our lungs and facilitate stabilisation.
During the execution of the entire concentric movement, it’s important to hold the breath, as this will maintain the intervertebral tension and keep us solid.
As we said before, the descent “ends” when we reach the “limit”, which is with our hips as close to the ground as possible, with our knees going over our toes.
The elbows are always kept in the highest position possible, which requires good shoulder mobility, as the palms of our hands should touch our shoulders. In this phase, the isometric pressure on the abdomen to stabilise the posture and the correct elevation of the elbows will be high.
- Torso straight and chest out
- Knees facing outwards
- High elbows
Lifting phase
It’s very important to note that the weight is mostly deposited onto our heels, and it’s from there that we’ll push and force as we exhale to initiate the concentric phase, or the lift.
In this phase, the 3 points above must be maintained in order to achieve repetition.
Recommendations
Related Entries