 Fitness, Nutrition, Health and Sports Blog In the HSNstore Blog you will find tips about Fitness, sport in general, nutrition, and health – HSNstore.com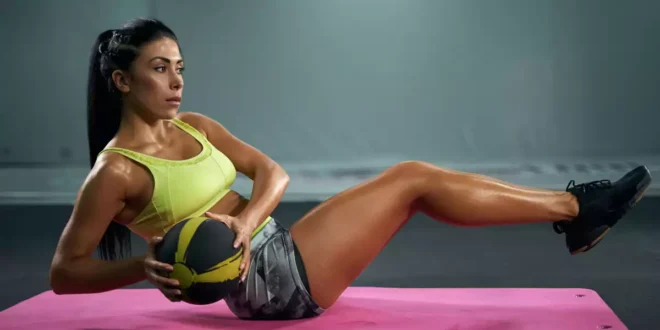

Russian Twists were born in Soviet military training programs to boost core endurance and stability. Nowadays, this exercise is part of many workout routines, but its effectiveness depends on perfect execution.
Let’s get straight to the point. I’m going to show you how to do Russian Twists the right way so you get the most out of it without fear of injuries. Follow these steps:

- Start the exercise sitting on the floor with knees bent and heels raised (or supported if you’re a beginner).
- Lean your torso back until it forms a 45° angle with the floor, keeping your spine neutral.
- Hold your hands in front of your chest or grab a light weight and twist your torso to one side, leading the movement from the floating ribs, not the shoulders. Your breath is your compass: exhale when twisting, inhale when returning to center.
- The ideal range is as far as your pelvis stays still. If you feel lower back tension, reduce the range.
Recommended reps and sets depending on your goal
| Goal | Sets | Reps | Load |
| Endurance | 3-4 | 20-30 per side | Bodyweight or 2-5kg |
| Strength | 4-5 | 8-12 per side | 8-15kg |
Javier’s tip: alternate 4-week cycles, prioritizing endurance to improve definition, then strength to increase muscle density.
? Muscles involved in the Russian Twist
| Primary muscles (the most worked) | Action |
| Oblique muscles | They’re the stars of this exercise. The external and internal obliques are responsible for torso rotation (the twisting movement) and lateral flexion of the spine. |
| Rectus abdominis | Activated isometrically to stabilize the trunk and help maintain the slight backward torso lean. It also assists in the twisting movement. |
| Transverse abdominis | The deepest abdominal muscle, acting like a natural belt, significantly contributing to lumbar spine stability during the exercise. |
| Secondary and stabilizer muscles | |
| Hip flexors (iliopsoas, rectus femoris, sartorius) | Especially activated if you keep your feet off the floor, helping maintain the “V” position and stabilize the lower body. |
| Lumbar muscles (erector spinae) | Stabilize the spine and prevent excessive flexion or rounding of the lower back. Keeping your back straight is crucial to protect this area. |
| Shoulder muscles (deltoids) and the upper back (trapezius, rhomboids) | If using weight, these muscles activate to hold the load and control the movement, especially during rotation. |
| Quadriceps | Can activate isometrically to keep legs in position, especially if extended or raised. |
Variations to adapt the exercise to your level
Here are several progressions to help you evolve in the exercise and avoid getting stuck:
1 With a kettlebell

- Hold a kettlebell with both hands at chest height.
- With your feet elevated or supported, rotate your torso, taking the weight to one side.
- Lower the weight down to the hip (no lower) to protect your back.
Javier’s tip: perfect for rehab or beginners.
2 With a dumbbell

- Hold a dumbbell with both hands.
- In V-sit or feet-elevated position, twist moving the weight from side to side.
- Control the movement when returning to center.
Javier’s tip: don’t use heavy weights if you can’t control the rotation.
3 With a medicine ball

- Hold a medicine ball with both hands at chest height.
- With your feet elevated or supported, rotate your torso, moving the ball from side to side.
- Lightly touch the floor at hip level (without lowering too much) to keep your spine protected.
Javier’s tip: prioritize controlled trunk rotation over speed; if you lose core stability, reduce the weight or place your feet on the ground.
Related posts